Introduction to the Level Editor
From Shoot Em Up Kit
Revision as of 13:05, 24 May 2020 by Wikiadmin (talk | contribs) (Created page with "link= The Level Editor can be accessed from the Project menu or by clicking the File:ToolBarLevelEditor.p...")
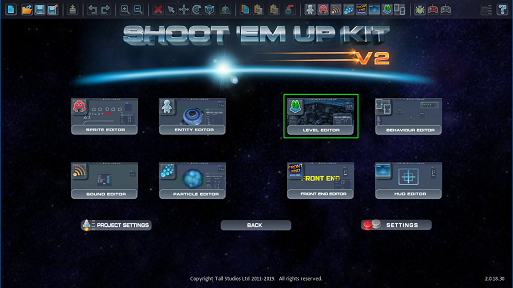
The Level Editor can be accessed from the Project menu or by clicking the ![]() Level Editor icon on the Tool Bar..
Level Editor icon on the Tool Bar..
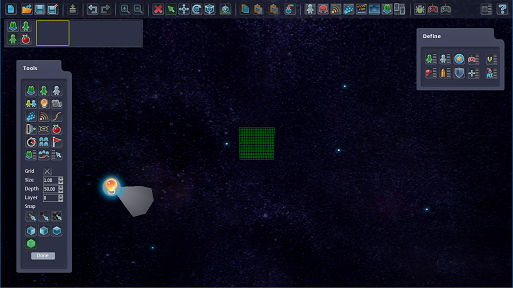
The level editor shows the currently selected level. When you first create a game it only contains a directional light. You can add items into the level by selecting them from the Tools menu. You can also move around the level.
The menu bar contains lots of the features for using the Shoot ‘Em Up Kit such as ![]() saving your project;
saving your project; ![]() packaging your game to run outside of the Kit; selecting a different editor (
packaging your game to run outside of the Kit; selecting a different editor (![]() Sprite Editor,
Sprite Editor, ![]() Particle Editor, etc.); and
Particle Editor, etc.); and ![]() testing your game. There are also shortcuts to the
testing your game. There are also shortcuts to the ![]() editor preferences and the
editor preferences and the ![]() user guide.
user guide.
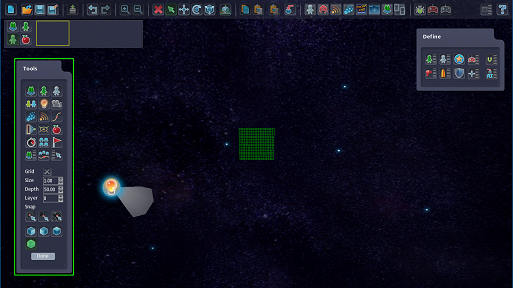
The Tools menu can be used to add items into your level. Clicking the ![]() Scenery icon, for example, will open the Entity list so that you can select exactly which scenery item you’d like to add.
Scenery icon, for example, will open the Entity list so that you can select exactly which scenery item you’d like to add.
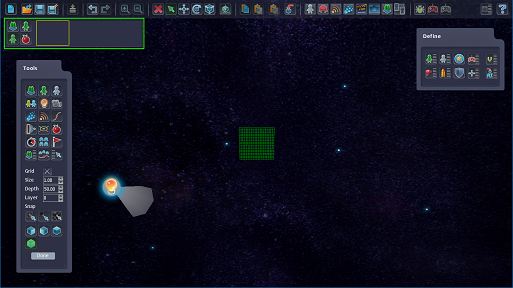
You can select whether you want the grid to be shown, select its size and choose whether you’d like items to snap to the grid location, or to other objects, to help with alignment.
You can also use layers to help position items deeper into the level (at a different Z value).
There is also a choice of views so that you can get a ![]() top down view of your level, for example.
top down view of your level, for example.
The Done button will close the current level and allow you to select another level or create a new one.
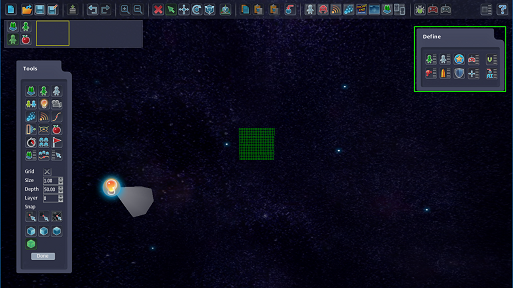
The Define menu allows you to set up definitions (or Templates) for the Players, NPCs, Weapons, Bullets, Shields, Upgrades, Player Input, and Movement characteristics. They contain a set of definitions that are ready to use but you can customise these for your game.
The idea behind the definitions is that you can set up the core properties, such as how many lives the player has, or whether a weapon needs reloading, and apply these to any Players or NPCs you add to your game. The definitions are shared across all the levels and so it is easy to make consistent behaviours across your entire game.
The Most Recently Used item bar will fill up as you add items into your level. You can select between ![]() Scenery,
Scenery, ![]() Players,
Players, ![]() NPCs and
NPCs and ![]() Objects and the most recent items will appear in this list. You can click on any of these items to quickly add them into your level.
Objects and the most recent items will appear in this list. You can click on any of these items to quickly add them into your level.